How To Make A Passport Size Photo In Photoshop (Step By Step) |
您所在的位置:网站首页 › passport image翻译 › How To Make A Passport Size Photo In Photoshop (Step By Step) |
How To Make A Passport Size Photo In Photoshop (Step By Step)
|
Here, you’ll learn how to prepare a passport-size photo in Photoshop and how to create multiple copies of it. These image requirements will vary based on your country, so once you know which dimensions are needed, it’s easy to make any photo passport-sized in Photoshop. Here’s how! Table of Contents Toggle Size Requirements For Passport PhotosFollowing the mandatory photo size required by your government is crucial since submitting a passport in the wrong size will automatically result in rejection. You can find the size requirements for a few countries below. US In the US, you must submit a 2 x 2-inch passport. Additionally, the size of your head in the photo must measure between 1 inch and 1 3/8 inches. EU If you live in a country that is a member of the European Union, your passport size must be 1.38 x 1.77 inches. The image also can’t be larger than 10MB. Canada If you live in Canada, you must submit a 2 x 2 3/4 inch passport image. Your head must be between 1 1/4 inches and 1 7/16 inches in size in the photo. Standard Image Requirements For Passport PhotosSpecific image requirements for passport photos vary from country to country, with some being stricter and others more flexible. However, particular rules apply to the majority of countries. If you have any doubts, consult your country’s legislation and remember that your photo should make it easy to identify you. Here are the most common image requirements for passports around the world: You must use a recent photo – generally no older than six months; Your image must have a white background; Your facial expression must be neutral – no smile, no angry face; Your head must be facing the camera – no side profile, for example; You can’t use accessories that cover your face or head, such as glasses or caps. Most countries allow you to wear religious hats and head coverings as long as they don’t cover your face; Your photo must be correctly exposed (no harsh shadows or glare, for example) How To Create A Passport Size Photo In PhotoshopYou will learn how to prepare your photo as a passport-sized photo. To achieve this, you must ensure the image is exposed correctly and formatted in the correct size. Luckily, this is a straightforward job. Step 1: Edit Your Photo Using Camera RawFirst, fix any exposure problems in your image by going to Filter > Camera Raw Filter. 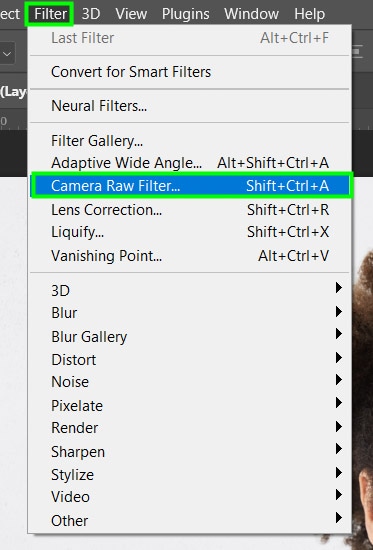
Within Camera RAW, you can make various basic adjustments depending on your image. Such as adjusting the Exposure, Contrast, Highlights, Shadows, Clarity, and Dehaze in the Basic tab. You can then use the Detail tab and increase Sharpening to highlight the details in your image. Click OK when you’re finished. 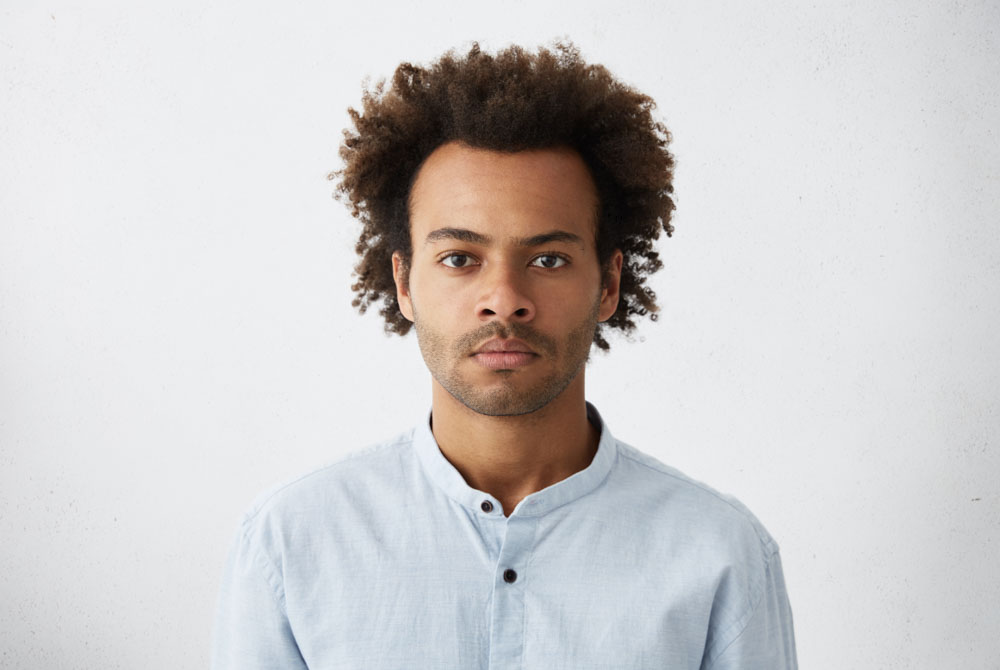 Before Before
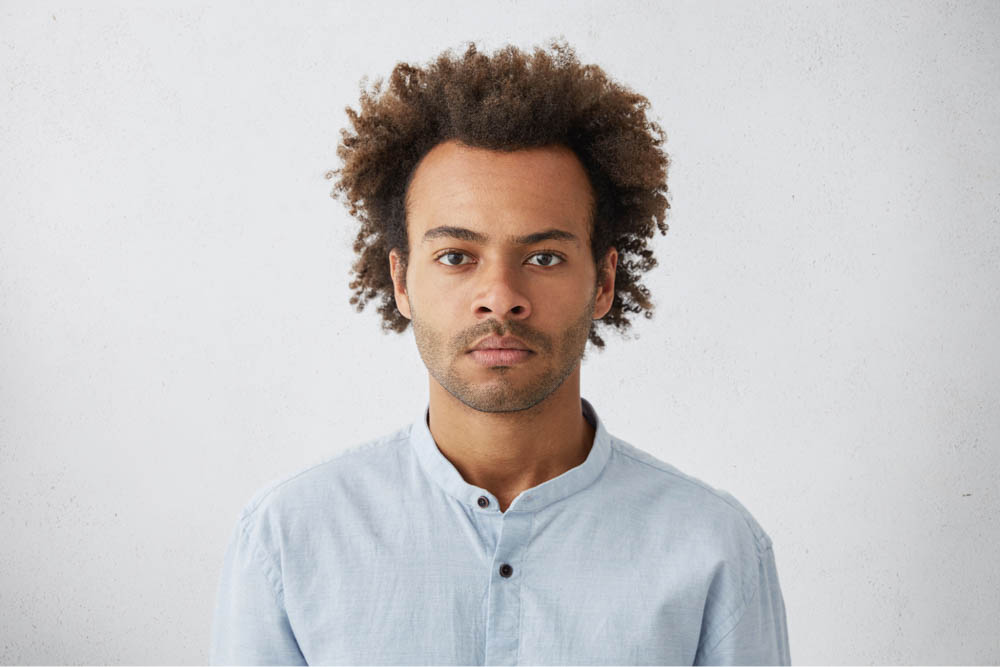 After
Step 2: Select Your Subject Using The Object Selection Tool (W) After
Step 2: Select Your Subject Using The Object Selection Tool (W)
To remove the background, enable the Object Selection Tool (W) from the Toolbar. 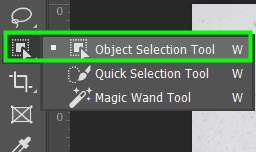
Then, hover over your subject and click to make a selection. 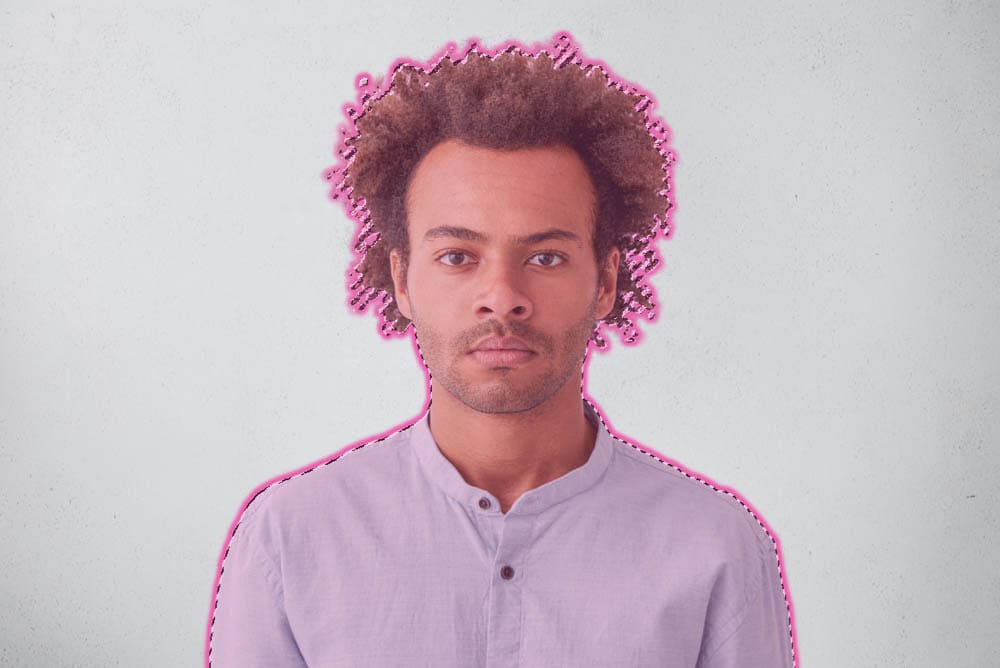 Step 3: Refine The Edges of Your Subject
Click the Select And Mask button in the Options bar. 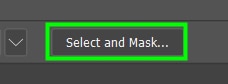
Within the Select And Mask workspace, select the Refine Edge Brush Tool. 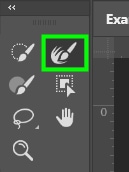
Now, zoom in on the edges of the hair by pressing Control + + (Win) or Command + + (Mac) and paint over the edges of the hair to refine it. Press the right bracket key to increase brush size or the left bracket key to decrease it. 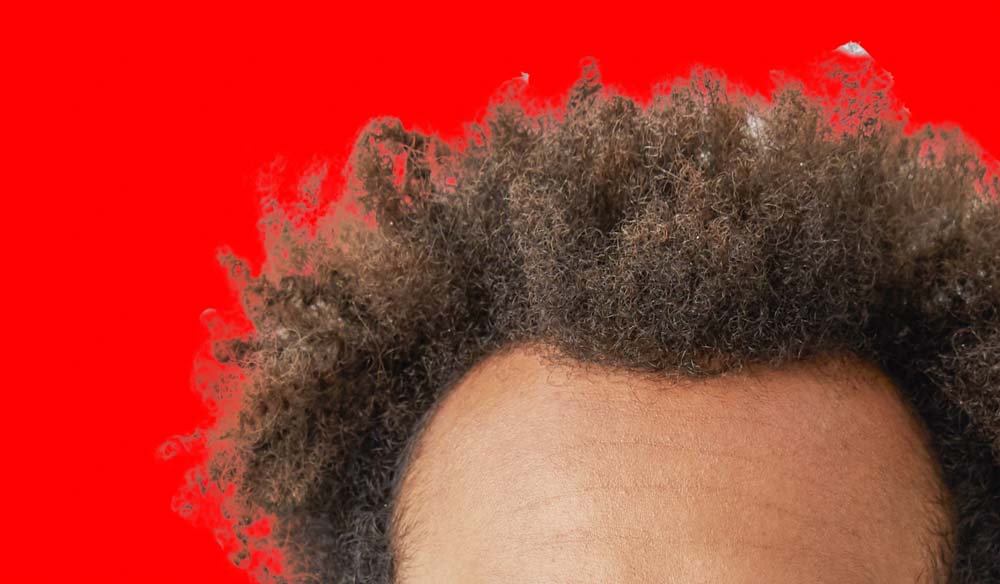 Before Before
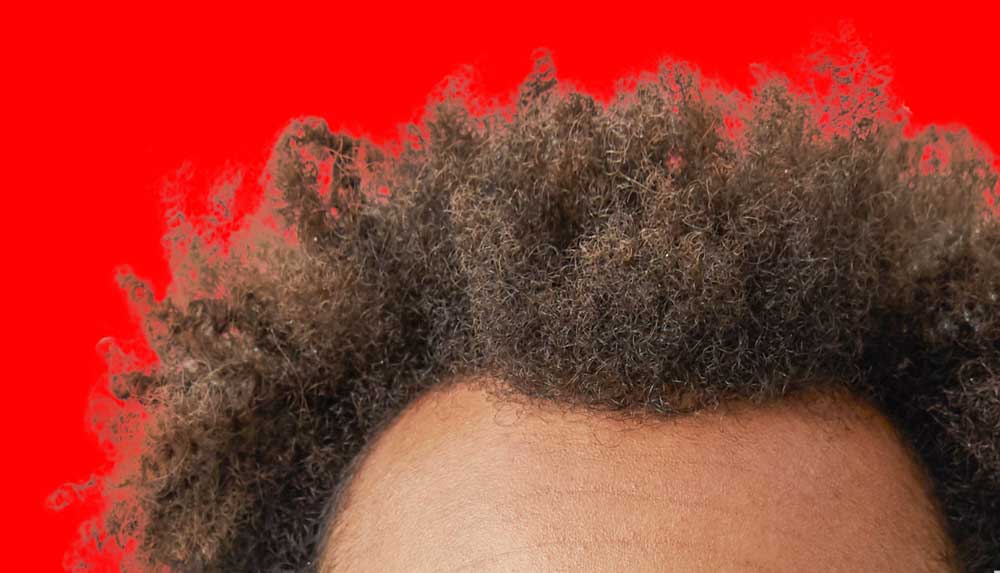 After After
You can also use the Brush Tool (B) to refine the edges of your subject. Then, zoom in on the subject’s edges and paint over them to refine them. 
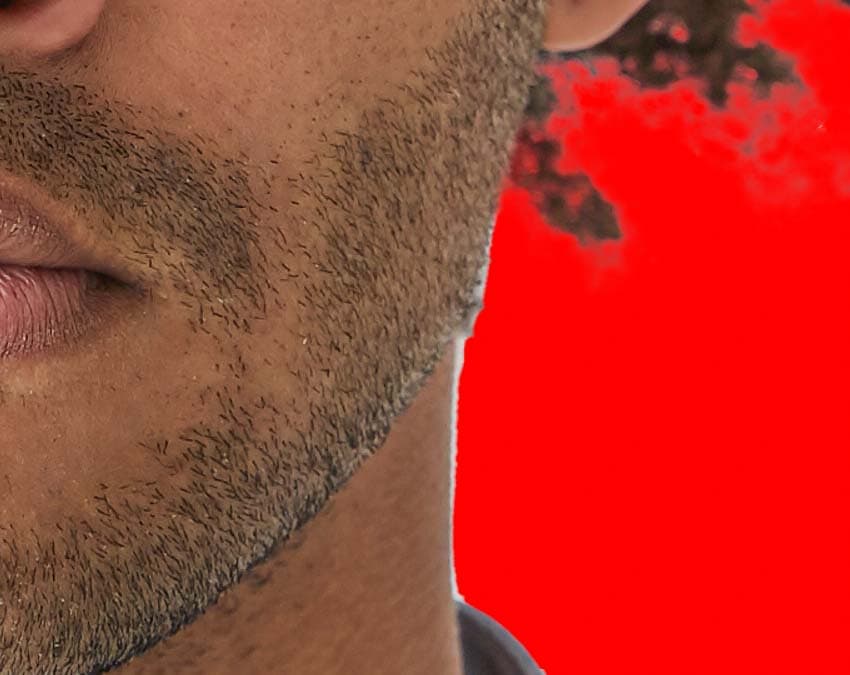 Before Before
 After After
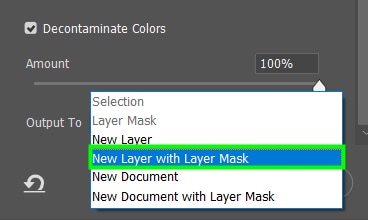
To eliminate the remaining pixels from the image’s original background, scroll down the Properties Panel and tick off the Decontaminate Colors option. Then, set the Output option to New Layer With Layer Mask. 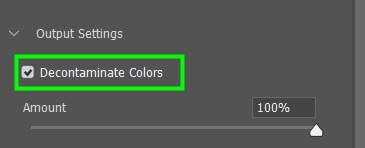
Next, click OK to confirm the changes, and you will be redirected back to the Photoshop workspace, where the background is successfully removed. 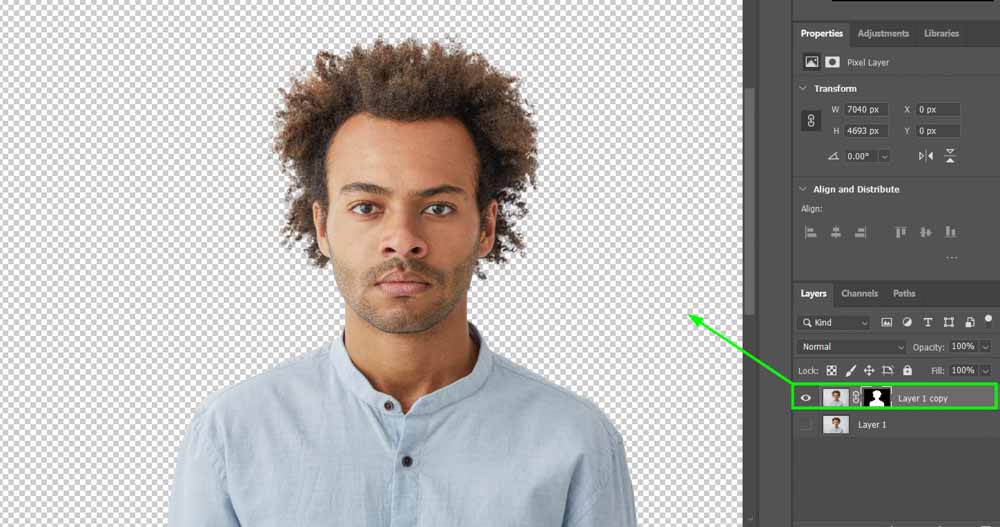 Step 4: Create A New Document
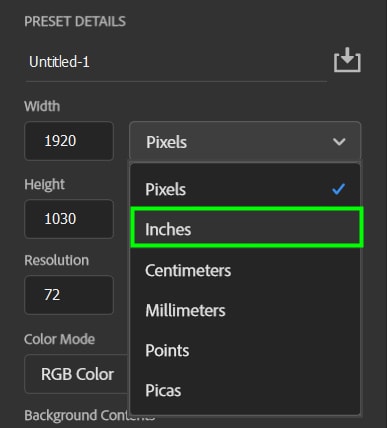
Now, create a new document to place your subject onto. To do this, go to File > New or press Control + N (Win) or Command + N (Mac) on your keyboard. In the New Document window, change the unit to inches. 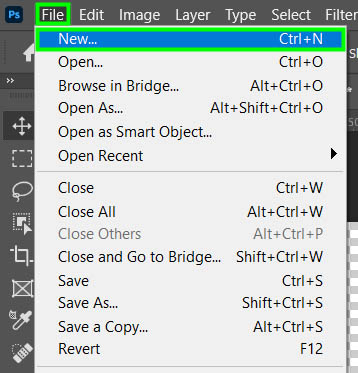
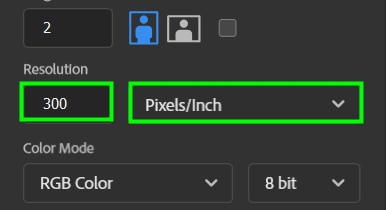
Then, set the width and height to the required size for a passport in your country. For this example, I choose the standard values for US passports, 2 x 2 inches. Set the Resolution to 300 Pixels/Inch. Click on Create at the bottom of the panel to make the document. 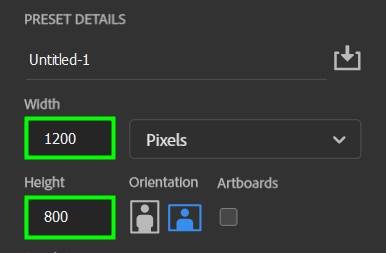
 Step 5: Place Your Image Into The New Document
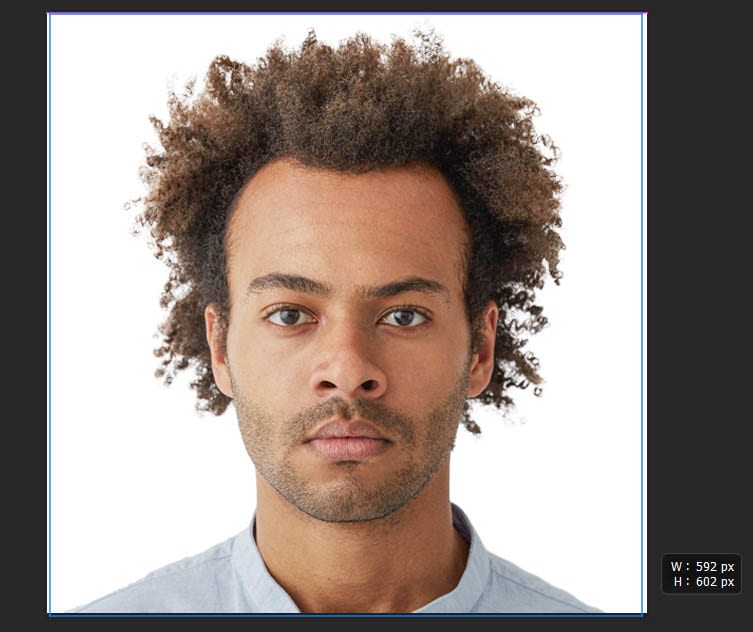
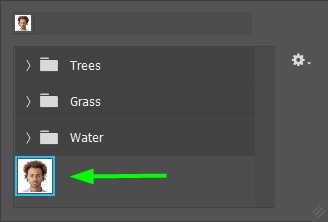
Now return to your image tab and enable the Move Tool (V). Select the image thumbnail in the Layers Panel. Then click and drag your image into the new document you created. After that, the image might appear too big for the document, as happened in my case. Press Control + T (Win) or Command + T (Mac) to fix this. Control handles will appear around your image. Push any of the handles down to scale down the image. 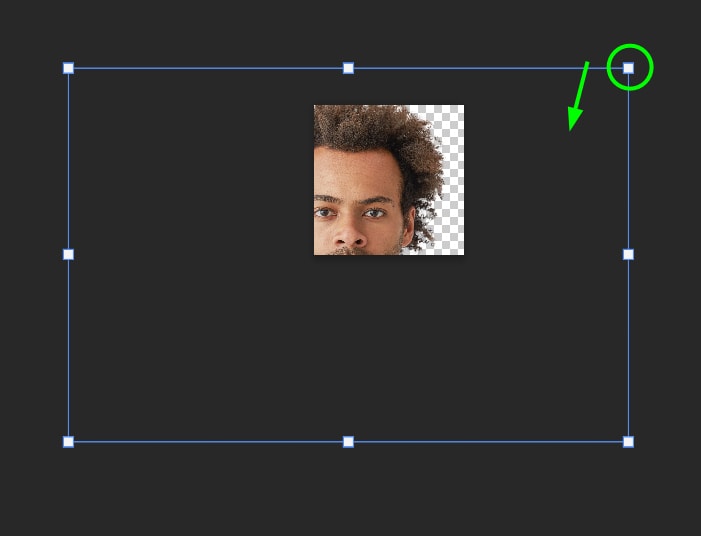
Then, drag the image to adjust the position and put it in the center of the document. Hit Enter on your keyboard to confirm the action and disable the Free Transform Tool.  Step 6: Add A White Background
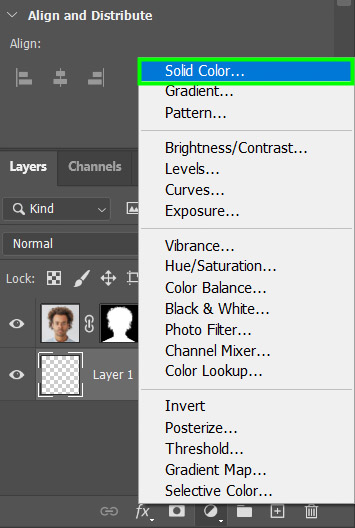
To add a white background, select the layer under your photo, click the Add Adjustment layer icon, and choose Solid Color. 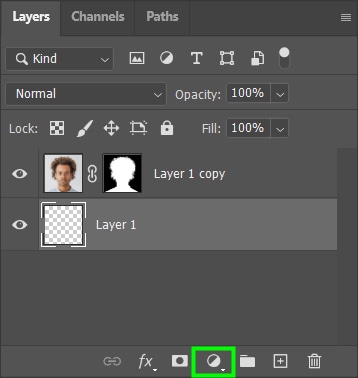
Now enter the code #FFFFFF in the hexadecimal box to set the background color to pure white. 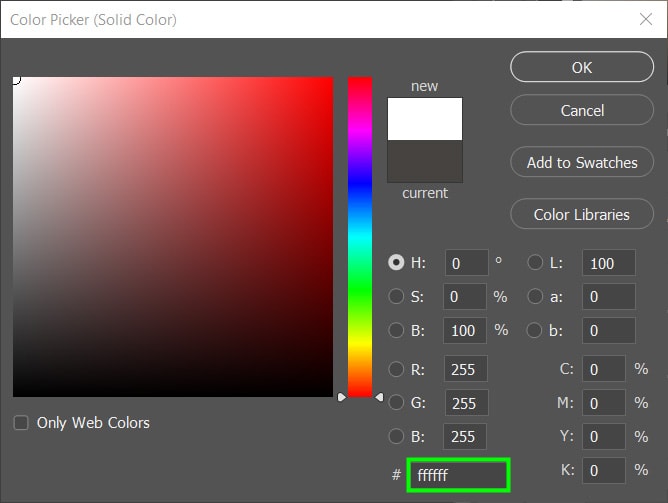
With that done, your passport photo will be ready to use! 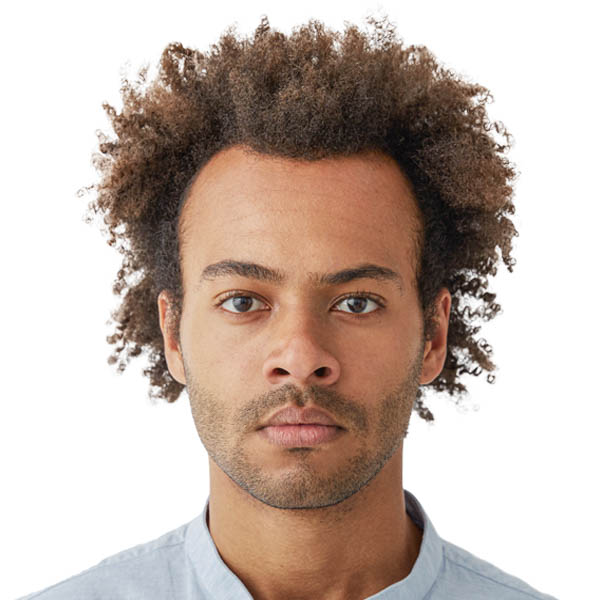 Step 7: Export The Image As A JPEG
Now you can save your file as a JPEG by going to File > Save A Copy. Then, select JPEG from the Save As Type drop-down menu and click Save. If you are not sure how to do this, see my guide on how to save photos in Photoshop. How To Make Multiple Versions Of A Passport Photo In PhotoshopIf you want to print a page full of passport-sized photos to keep on hand for when you need them, you can quickly make multiple versions of the passport photo you created in the previous section. Step 1: Add A Rectangle To The Image Using The Rectangle ToolTo do this, select the Rectangle Tool (U). Then, drag the shape from top to bottom until it covers the photo. Be sure to add this layer above the image layer. 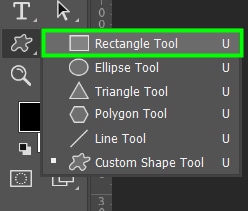
 Step 2: Set The Fill, Stroke, And Width In The Options Bar
Afterward, go to the Options Bar and set the Fill to transparent, the Stroke to white, and the Stroke Width to 40 px. Hit Enter to confirm the action.  Step 3: Go To Edit > Define Pattern
After that, go to Edit > Define Pattern. Name the pattern, anything you want, and press OK. 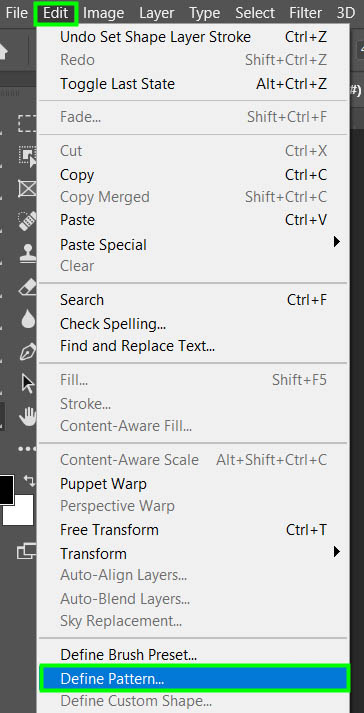 Step 4: Go To File > New And Create A New Document
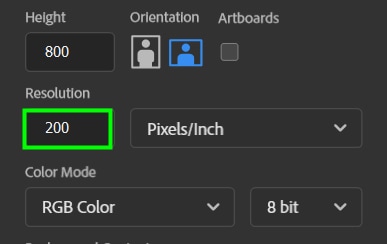
Next, go to File > New and set the unit to Pixels.
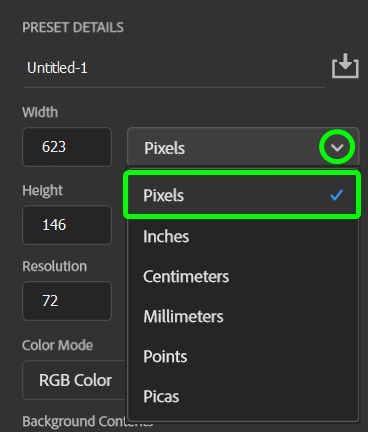
Set the Width to 1200 and the Height to 800. You can size the document based on how many images you want to fit on the page. Then, set Resolution to 200 pixels/inch, and click Create.
 Step 5: Add A Pattern Adjustment Layer
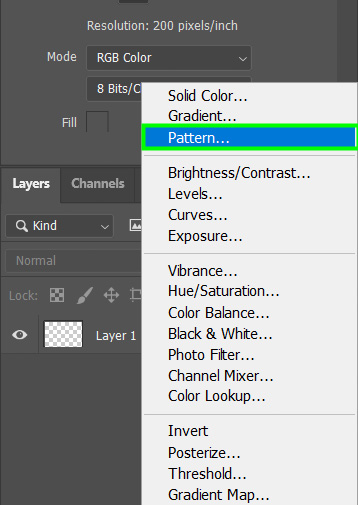
Next, go to the Layers Panel, click the Add Adjustment layer icon, and select Pattern from the list. 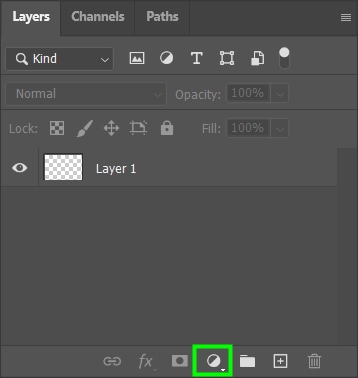
 Step 6: Select The Image As The Pattern And Adjust The Scale
Within the Pattern Fill panel, click the arrow next to the active pattern preview and select your passport photo from the options. 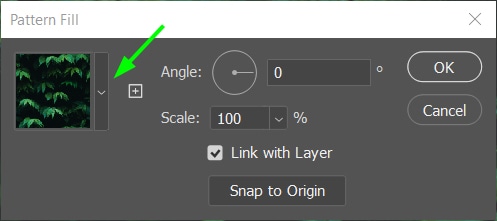
In Scale, you can control the number of copies of your photo that will fit your new document. The exact value depends on the size of your image. In my case, 67% was enough to fit 6 photos in the correct size. Click OK to confirm the pattern, and you now have multiple passport-sized images on your document. 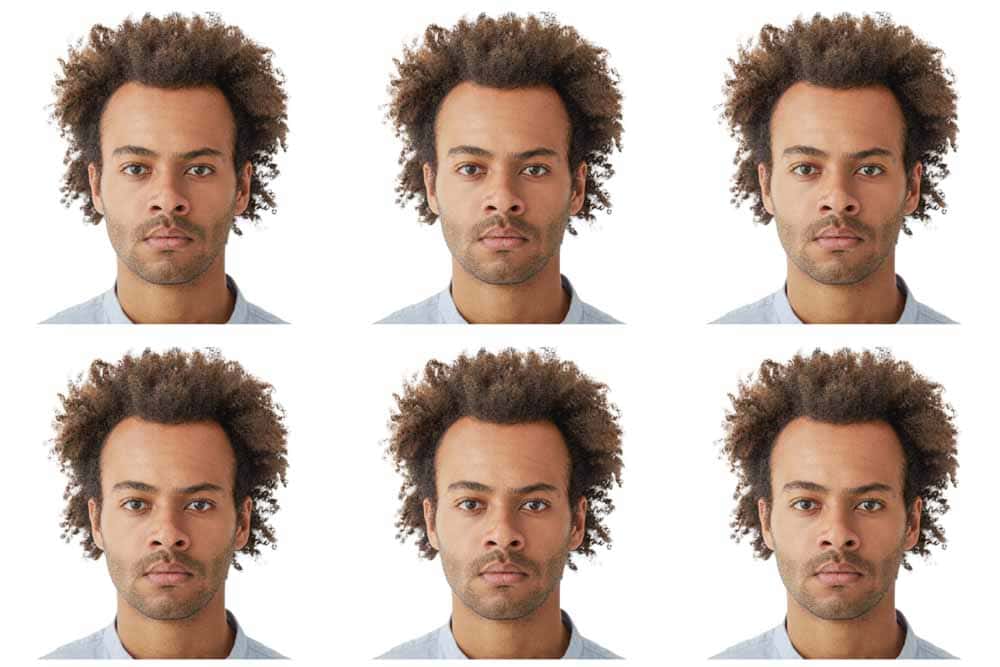
Learning how to create your passport photos means you don’t need to leave your house or struggle to find a good photographer. This is handy, especially when you are in a rush to get your passport documents in order. It does take some basic knowledge of Photoshop, but nothing too complicated, as you can see here. |
【本文地址】
今日新闻 |
推荐新闻 |